
This guide will help you quickly get started with hosting your WordPress Website on Azure Cloud
Introduction
Welcome to our in-depth guide on starting your journey with WordPress on Azure! Whether you’re a newcomer in web development or seeking a more powerful hosting option, this is your starting point. In this article, we’ll introduce you to WordPress, the leading content management system (CMS), and Microsoft Azure, a forefront cloud computing service. Discover the benefits of hosting your WordPress site on Azure and learn how to do it effortlessly with our tailored Azure MarketPlace Image.
What is WordPress?
WordPress is a dynamic CMS that underpins many websites on the internet. This open-source tool enables creating and managing diverse websites, ranging from basic blogs to intricate e-commerce platforms. Its adaptability, user-friendly nature, and extensive range of themes and plugins render it the preferred choice for numerous web developers and business proprietors.
Why Choose WordPress?
- User-Friendly: Renowned for its straightforward interface, WordPress suits both novices and seasoned professionals.
- Customizable: Boasting an array of themes and plugins, it offers extensive customization options to meet specific site requirements.
- SEO-Friendly: WordPress is inherently optimized for search engines, aiding in achieving higher search rankings.
- Community Support: WordPress is the most utilized CMS, boasting a vast community that provides substantial support and resources.
Introduction to Azure
Microsoft Azure is a cloud computing service that offers an array of features, including substantial computing power, diverse storage options, and advanced networking. It delivers scalable, dependable, and cost-efficient cloud computing solutions.
Why Host WordPress on Azure?
- Scalability: Azure facilitates resource scaling in line with your website’s traffic, ensuring continuous optimal performance.
- Reliability: Azure guarantees high availability and redundancy, ensuring your website remains operational and reachable.
- Security: With Azure, you benefit from advanced security measures, safeguarding your website against various online threats.
- Cost-Effectiveness: Azure’s pay-for-what-you-use pricing model means you only incur costs for the resources you utilize.
Introducing Our Custom Azure MarketPlace Image
To streamline the deployment of WordPress on Azure, we’ve developed a custom Azure MarketPlace Image. This pre-configured image is crafted to swiftly and efficiently launch your WordPress site on Azure, requiring minimal initial setup.
To launch the power of WordPress and start your publishing journey today, click on the image below.
Getting Started with Our Azure MarketPlace Image
Here’s a step-by-step guide to launching your WordPress site using our Azure MarketPlace Image:
Step-by-step launch on Azure MarketPlace Image
On the product page , click on the “Get It Now” button. A pop-up window will appear, asking you to confirm your selection. Click “Continue” to proceed.
2. Open Azure Portal: You’ll be redirected to the Azure Portal (https://portal.azure.com ). If you’re not logged in, you must sign in with your Azure account.
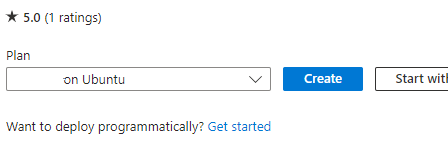
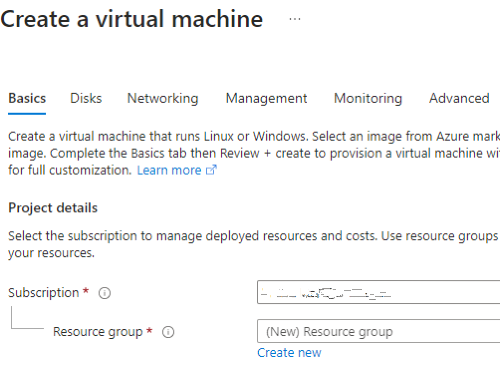
3. Create a Virtual Machine: You’ll see a page with the details of the image you selected. Click on the “Create” button to start creating your virtual machine.
4. Fill in the Virtual Machine Details: Fill in the necessary details, such as subscription, resource group, virtual machine name, region, availability options, and size.
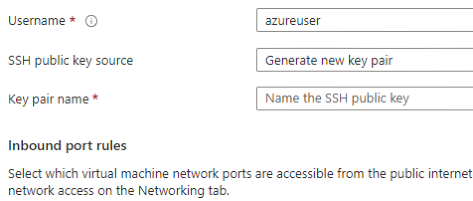
5. Authentication Type & Inbound Port Rules: Choose an authentication type (SSH public key or password) and set up the inbound port rules as needed.
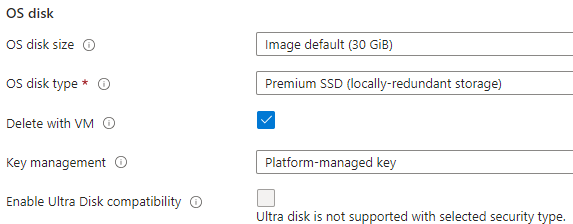
6. Disks, Networking, Management, Advanced, Tags: Choose the disk type, set up networking, enable management features, add extensions, and add tags as needed.
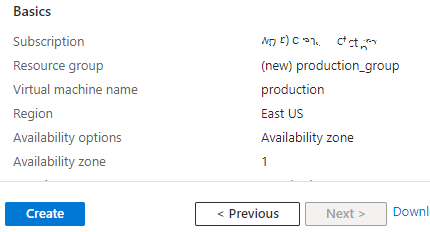
7. Review + Create: Review all your settings. If everything is OK, click on “Review + Create”, then “Create” to start the deployment process.
8. Check the Deployment: After clicking “Create”, you’ll be redirected to the deployment overview page. Wait for the deployment to finish.
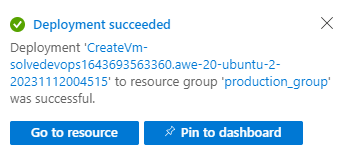
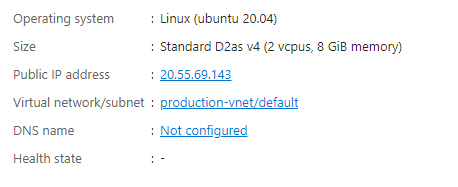
9. Go to the Virtual Machine Page: Once the deployment is complete, click “Go to resource” to manage your new VM. Note the IP address down, as this is what you will use to access and manage your instance.
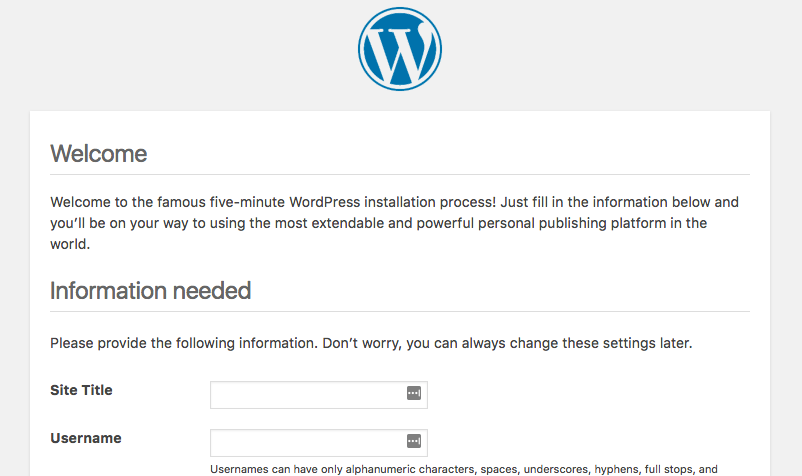
Once your instance is launched, it will take about 5-10 minutes to bootstrap for the first time. When ready, you should be able to browse the WordPress web-ui located at http://ip.address.of.instance. For example, if your instance is on IP address 1.2.3.4, you should be able to access the web-ui by browsing to http://1.2.3.4
Conclusion
Embarking on your WordPress journey with Azure marks the beginning of a new era in website management and performance. By choosing Microsoft Azure as your hosting platform and our image as a turnkey solution, you guarantee the success of your online business.
Next Guide – Customizing Your WordPress Server.
Disclaimer:
All product and company names are trademarks™ or registered® trademarks of their respective holders. Use of them does not imply any affiliation with or endorsement by them.
Do you still need help?
Look, our Tech Support Staff live and breathe Cloud Engineering. Let them handle the details, so you can focus on the big picture.
Contact Support