This guide will help you quickly get started with our AWS Marketplace offering – Jenkins Agent on Windows Server 2019.
Overview
In the dynamic world of software development, integrating various tools and practices plays a pivotal role in delivering quality products efficiently. Among these tools, Jenkins stands out as a cornerstone in the DevOps industry. An open-source automation server, Jenkins facilitates continuous integration and continuous delivery (CI/CD) in software projects, enabling developers to build, test, and deploy applications with greater ease and reliability.
Jenkins orchestrates a complex symphony of tasks, from code commits to deployment, ensuring that every aspect of the software development lifecycle is automated and streamlined. Its versatility and scalability have made Jenkins an invaluable asset for teams seeking to adopt DevOps practices, emphasising collaboration, automation, and rapid delivery.
What are Jenkins Agents
Its agents are central to Jenkins’ functionality. In Jenkins, an agent is a crucial component that carries out the tasks assigned by the master server. This delegation of tasks allows for a distributed build environment, where multiple build jobs can be executed simultaneously across different environments. Agents are particularly effective in handling diverse workloads and are instrumental in scaling the build, test, and deployment processes across various platforms.
This article will delve into setting up a Jenkins Agent on Windows Server 2019. Windows Server 2019 offers robust features and security, making it an ideal choice for hosting Jenkins agents. A video at the end of the article will show further instructions on how to set up the agent with your existing Jenkins server.
If you haven’t already, click below to set up your Windows Agent for Jenkins. This agent is specifically built for .Net projects.
Why host your Jenkins Agent on AWS
Hosting Jenkins agents in AWS (Amazon Web Services) presents a strategic advantage for businesses aiming to optimize their DevOps practices. As a cloud computing leader, AWS offers unparalleled scalability and flexibility, which are essential for efficient CI/CD pipelines. When Jenkins agents are hosted in AWS, they inherit the cloud’s dynamic resource allocation capabilities. Your Jenkins environment can automatically scale to meet varying demands, ensuring that resources are optimally used and costs are effectively managed. AWS’s global infrastructure also guarantees high availability and robust security, making it an ideal platform for Jenkins agents.
Key benefits of hosting Jenkins agents in AWS include:
- Scalability and Cost-Effectiveness: AWS allows for seamless scaling of Jenkins agents. This scalability ensures that you only pay for the resources you use, leading to significant cost savings, especially during off-peak hours or fluctuating workloads.
- Automatic Scaling to Meet Demand: With AWS, your Jenkins agents can automatically scale up or down based on the demand. This feature ensures that your CI/CD pipeline is always equipped with the necessary resources, enhancing efficiency and reducing manual intervention.
- Global Infrastructure and Reliability: AWS’s extensive global network ensures high availability and reliability for your Jenkins agents. This global presence means reduced latency and enhanced performance for users across different geographies, furthering the efficiency of your development operations.
Step-by-step launch on AWS MarketPlace
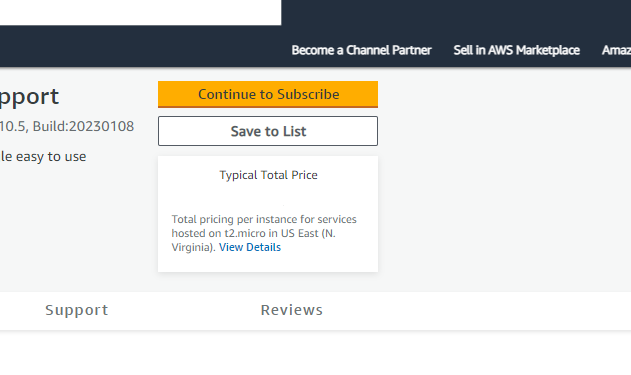
On the product page , click the “Continue to Subscribe” button. This will lead you to the subscription page.
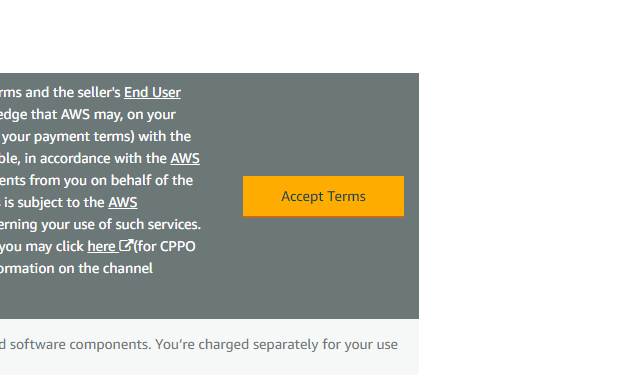
Accept Terms: Review the End User License Agreement, then click “Accept Terms”. You’ll be notified that your subscription is being set up.
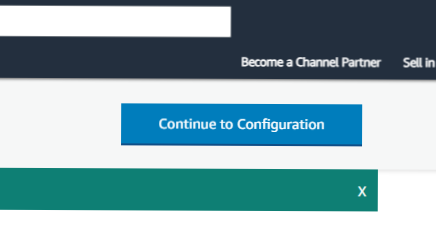
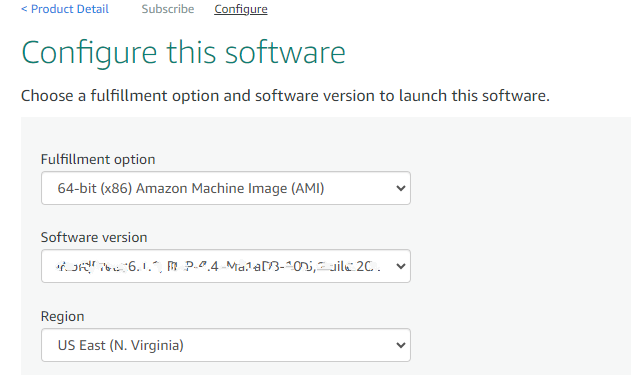
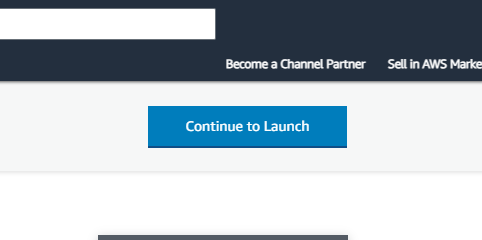
Launch from EC2 Console: Once your subscription is complete, click “Continue to Configuration” to choose your software and region, then click “Continue to Launch”. Here, you can launch your AMI directly through the EC2 console.
Choose Action: Under “Choose Action”, select “Launch from Website” or “Launch through EC2”.
Configure Instance Details: Fill out the details of your instance, such as instance type, VPC settings, security group settings, and key pair. Make sure to configure these settings to match your specific needs.
Launch Instance: Click “Launch” to start your EC2 instance using the selected AMI from the AWS Marketplace.
Check Instance: Go to your EC2 console and click “Instances” in the left sidebar to check the status of your instance. It may take a few minutes for your instance to launch. You can also access your instance by visiting https://console.aws.amazon.com/
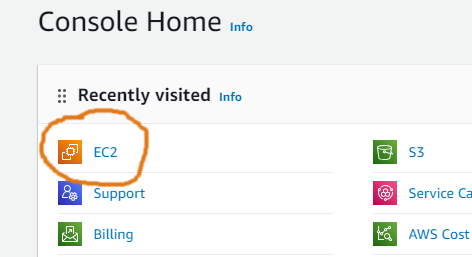
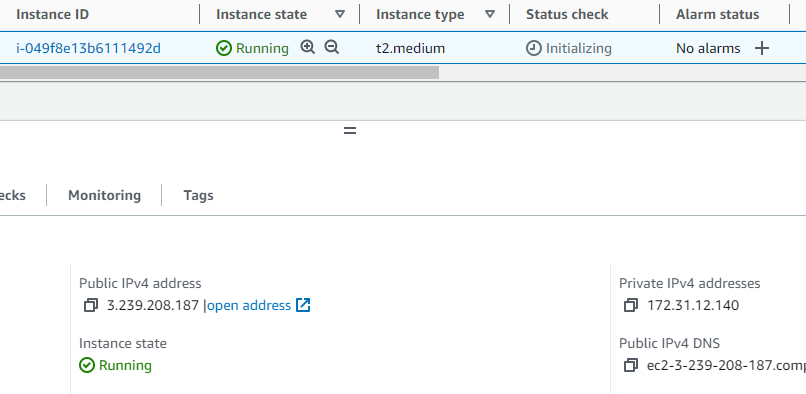
You should be able to access and manage your instance on the console.
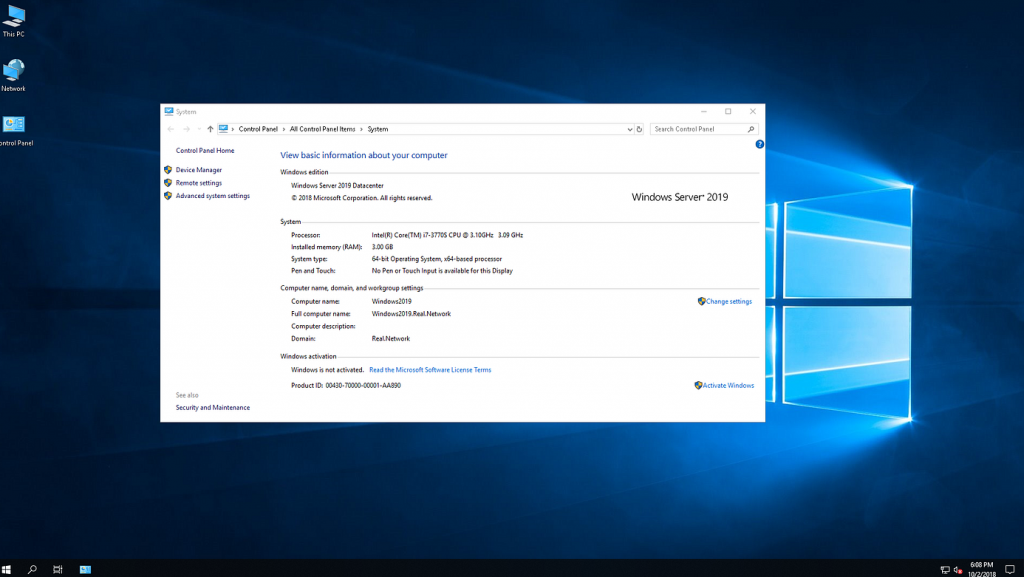
Once your instance is launched, it will take about 5-10 minutes to bootstrap for the first time. When ready, access your instance over RDP and configure your agent using this Video as a guide.
Disclaimer:
All product and company names are trademarks™ or registered® trademarks of their respective holders. Use of them does not imply any affiliation with or endorsement by them. This product contains the latest patched software from individual vendors; we do not, however, claim that all vulnerabilities have been addressed.
Do you still need help?
Look, our Tech Support Staff live and breathe Cloud Engineering. Let them handle the details, so you can focus on the big picture.
Contact Support