Because no one wants to spend the rest of their lives on a tiny black console.
Cockpit is an interactive server administration interface. It provides a web-based GUI to administer and monitor your Linux servers. In this guide, we’ll walk you through the process of installing Cockpit on three popular Linux distributions: Alma Linux 9, Rocky Linux 9, and Fedora 38.
Bad things happen to good people. This guide assumes you’re working in a safe environment and you’re aware of the implications of opening ports in your firewall. Always ensure your server is secure and only accessible to trusted networks.
Pre-requisites
Before you begin, make sure you have:
- A system running Alma Linux 9, Rocky Linux 9, or Fedora 38.
- A user account with sudo privileges.
Note: While it’s possible to install Cockpit as a non-root user, some features may not work correctly unless they’re run with root privileges.
Step 1: Update Your System
First, it’s a good practice to start by updating your system. Open a terminal window and enter the following command:
sudo dnf update -yStep 2: Install Cockpit
Alma Linux 9 and Rocky Linux 9
On Alma Linux 9 and Rocky Linux 9, Cockpit is available in the AppStream repository. Install it using the following command:
sudo dnf install cockpit -yFedora 38
On Fedora 38, Cockpit comes pre-installed. If it’s not present on your system for any reason, you can install it using the same command as above.
Step 3: Start and Enable Cockpit
After installation, you need to start the Cockpit service and enable it to start at boot time. Use these commands:
sudo systemctl start cockpit
sudo systemctl enable cockpit
Step 4: Open Firewall Port (If Applicable)
If you’re running a firewall on your system, you need to allow Cockpit through. Cockpit operates on port 9090. Here’s how you can open this port with firewalld:
sudo firewall-cmd --add-service=cockpit
sudo firewall-cmd --add-service=cockpit --permanent
Step 5: Access Cockpit
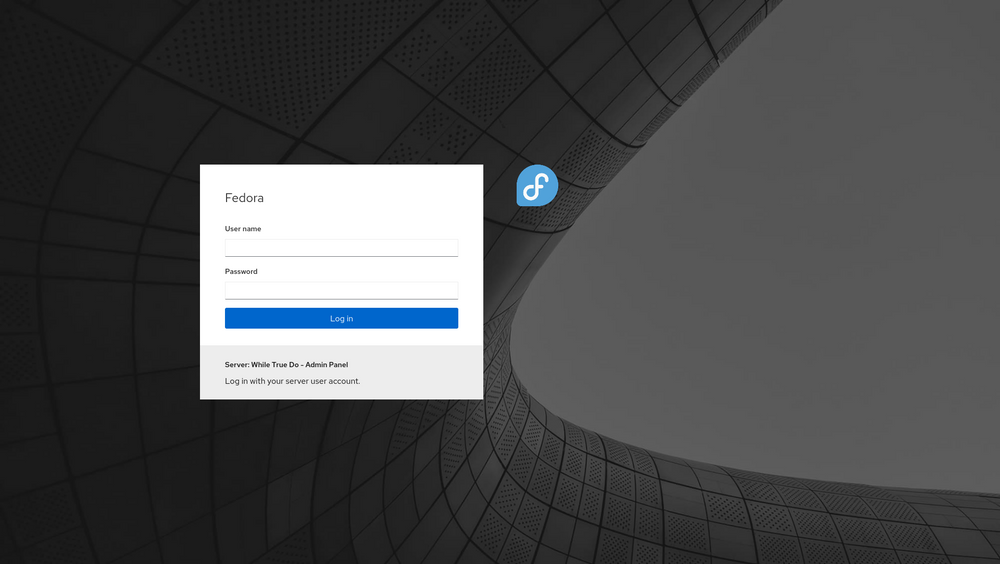
Finally, you can access Cockpit via your web browser. Simply navigate to https://<Your-Server-IP>:9090. If you’re installing on a local machine, you can use https://localhost:9090.
Remember to replace <Your-Server-IP> with your actual server IP address.
If all goes well, your browser will welcome you with the image below.
Conclusion
Congratulations! You’ve installed Cockpit on your Linux server. You can now run your system adminstration tasks from a web-based GUI, making server management simpler and more intuitive.
Cockpit is a powerful tool, capable of managing multiple servers from a single interface. It’s a great addition to any system administrator’s toolkit. Enjoy exploring its many features!
Do you still need help?
Look, our Tech Support Staff live and breathe Cloud Engineering. Let them handle the details, so you can focus on the big picture.
Contact Support