
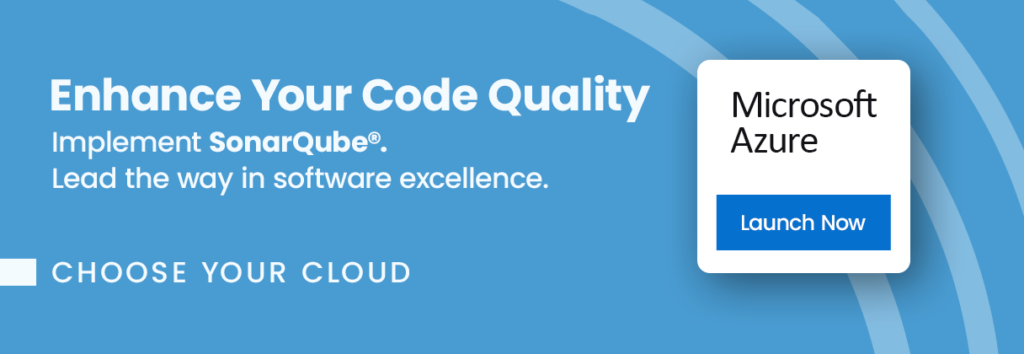
This guide shows How To Setup SonarQube on Azure: A Step-By-Step Guide.
Overview
SonarQube® is an open-source platform designed for continuous code quality inspection. It conducts automatic reviews through static analysis to detect bugs, code violations, unit test coverage, and more.
This package offers SonarQube on the robust Ubuntu 20.04, enabling you to establish a one-click Quality Analysis practice for your organization. It supports over 29 programming languages, making SonarQube a go-to solution for all your code quality needs.
Why use SonarQube?
SonarQube is critical in maintaining software quality and identifying errors, bugs, and security vulnerabilities. It provides reports on duplicated code, coding standards, unit tests, and security issues. Its easy-to-use Web UI, multi-language support, and seamless integration with Github, Gitlab, and other SCM tools make it a top-tier code quality analysis platform with strong community backing.
Why Use This Image?
Our image makes deploying your SonarQube a breeze. It lets you and your team focus on producing high-quality code without the fuss of set-up. In no time, you’ll be improving Code Quality Analysis practice in your organisation.
Features include:
- 1-Click deployment for easy setup
- Up-to-date versions of Ubuntu, SonarQube Community
- Available support to guide you through the process
Don’t release another project without automated code quality analysis. Click here to get started.
Step-by-step launch on Azure MarketPlace
On the product page , click on the “Get It Now” button. A pop-up window will appear, asking you to confirm your selection. Click “Continue” to proceed.
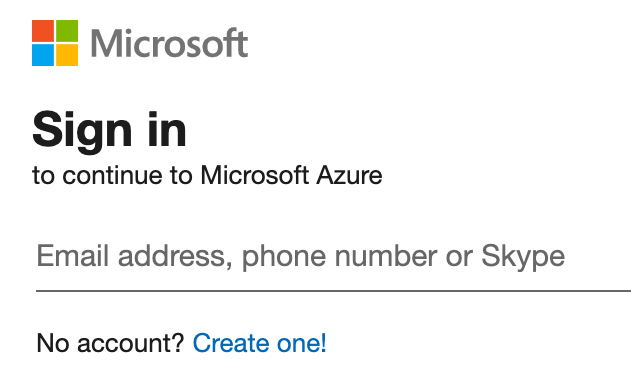
2. Open Azure Portal: You’ll be redirected to the Azure Portal (https://portal.azure.com ). If you’re not already logged in, you’ll need to sign in with your Azure account.
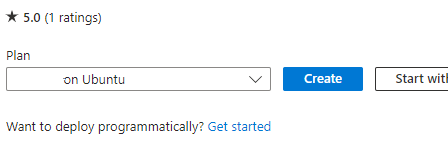
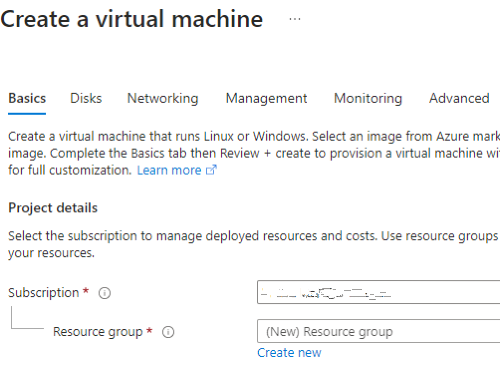
3. Create a Virtual Machine: You’ll see a page with the details of the image you selected. Click on the “Create” button to start creating your virtual machine.
4. Fill in the Virtual Machine Details: Fill in the necessary details, such as subscription, resource group, virtual machine name, region, availability options, and size.
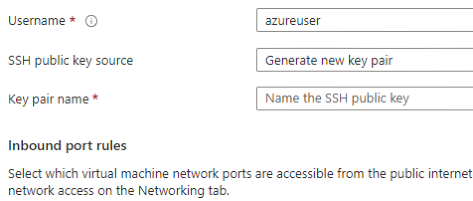
5. Authentication Type & Inbound Port Rules: Choose an authentication type (SSH public key or password) and set up the inbound port rules as needed.
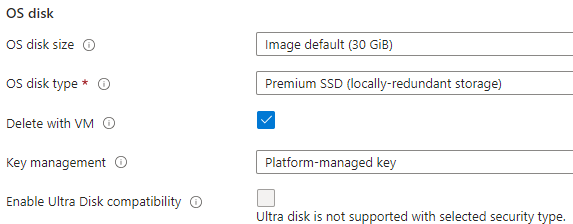
6. Disks, Networking, Management, Advanced, Tags: Choose the disk type, set up networking, enable management features, add extensions, and add tags as needed.
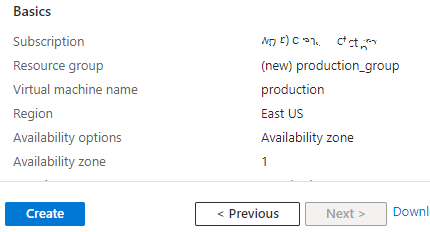
7. Review + Create: Review all your settings. If everything is OK, click on “Review + Create”, then “Create” to start the deployment process.
8. Check the Deployment: After clicking “Create”, you’ll be redirected to the deployment overview page. Wait for the deployment to finish.
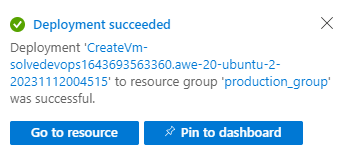
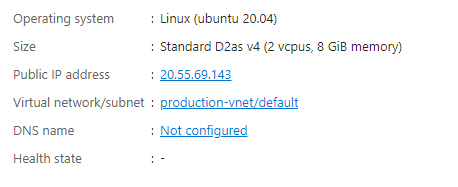
9. Go to the Virtual Machine Page: Once the deployment is complete, click “Go to resource” to manage your new VM. Note the IP address down, as this is what you will use to access and manage your instance.
It will take about 5 minutes to bootstrap for the first time. When ready, you should be able to browse to SonarQube web-ui located at http://ip.address.of.instance:9000 for example, if your instance is on IP address 1.2.3.4, you should be able to access the web-ui by browsing to http://1.2.3.4:9000 The default username is “admin” and the password is stored under /opt/default-sonar-login.txt
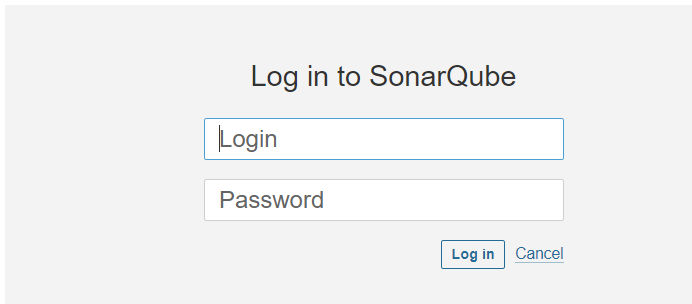
Access Credentials
username: admin
password: As retrieved above
Shoud you need to, SSH is available as well. The credentials for that are;
username: azureuser or user account setup during provisioning
password: use SSH-Key or Password used during VM instance provision
Conclusion
SonarQube is a powerful tool that can assist organisations to uplift the quality of their products and code. This guide showed you how to set up SonarQube on Azure using our custom-baked image in the Azure MarketPlace . We explained the benefits and features of SonarQube. We hope you are excited to use SonarQube in your projects.
Disclaimer:
All product and company names are trademarks™ or registered® trademarks of their respective holders. SonarSource owns several trademarks, including Sonar™, SonarSource™, SonarQube™, SonarLint™, and SonarCloud™ (collectively, the Sonar Marks). Use of them does not imply any affiliation with or endorsement by them.
Do you still need help?
Look, our Tech Support Staff live and breathe Cloud Engineering. Let them handle the details, so you can focus on the big picture.
Contact Support