This guide shows How To Setup LAMP server on Azure: A Step-By-Step Guide.
Overview
LAMP stack, standing for Linux, Apache, MariaDB, and PHP, is a favourite among web developers. It’s open-source, reliable, and perfect for building everything from dynamic websites to web applications. Here’s a quick rundown: Linux is a sturdy operating system, Apache is a widely used web server, MariaDB is a flexible database management system, and PHP is a popular language for server-side scripting. Together, they form a strong backbone for all sorts of web projects. To quickly get started, click the image below.
Why Use This Image?
Our image makes deploying your LAMP stack on Azure a breeze. It lets you and your team focus on perfecting your PHP application or website without the fuss of setup. Plus, it comes with PhpMyAdmin – a user-friendly web interface for managing MariaDB. You’ll be handling SQL databases like a pro in no time.
Features include:
- 1-Click deployment for easy setup
- Up-to-date versions of Ubuntu, Apache, MariaDB, and PHP
- Available support to guide you through the process
Don’t delay your next web project. Start building with LAMP today and enjoy all its benefits. Click here to get started.
Step-by-step launch on Azure MarketPlace
On the product page , click on the “Get It Now” button. A pop-up window will appear, asking you to confirm your selection. Click “Continue” to proceed.
2. Open Azure Portal: You’ll be redirected to the Azure Portal (https://portal.azure.com ). If you’re not logged in, you must sign in with your Azure account.
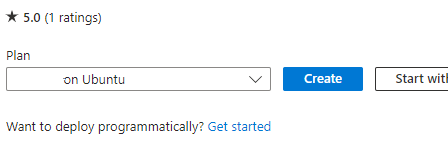
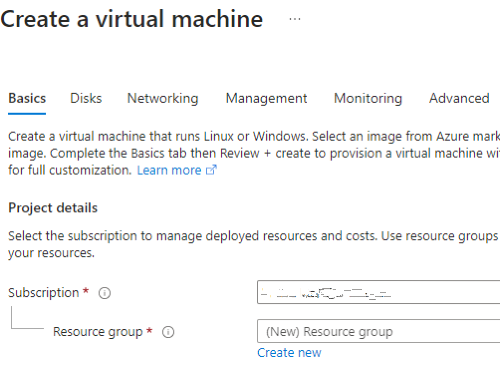
3. Create a Virtual Machine: You’ll see a page with the details of the image you selected. Click on the “Create” button to start creating your virtual machine.
4. Fill in the Virtual Machine Details: Fill in the necessary details, such as subscription, resource group, virtual machine name, region, availability options, and size.
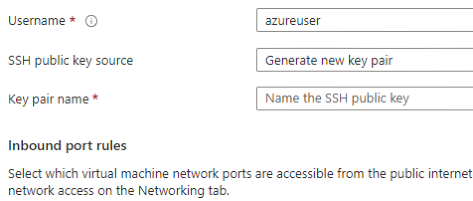
5. Authentication Type & Inbound Port Rules: Choose an authentication type (SSH public key or password) and set up the inbound port rules as needed.
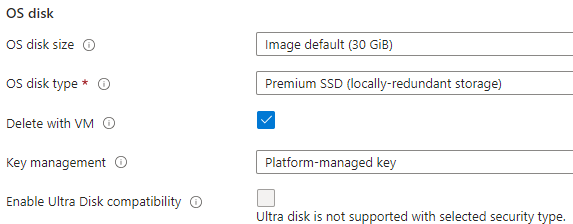
6. Disks, Networking, Management, Advanced, Tags: Choose the disk type, set up networking, enable management features, add extensions, and add tags as needed.
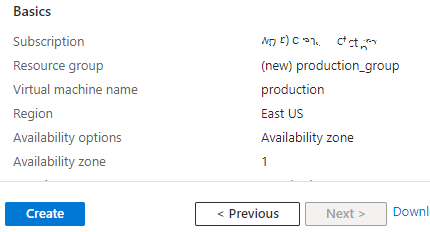
7. Review + Create: Review all your settings. If everything is OK, click on “Review + Create”, then “Create” to start the deployment process.
8. Check the Deployment: After clicking “Create”, you’ll be redirected to the deployment overview page. Wait for the deployment to finish.
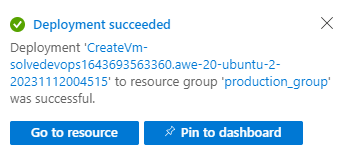
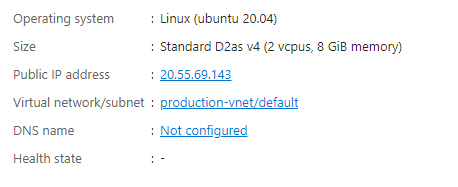
9. Go to the Virtual Machine Page: Once the deployment is complete, click “Go to resource” to manage your new VM. Note the IP address down, as this is what you will use to access and manage your instance.
Congratulations! You’ve successfully launched your LAMP on Azure. To ensure the security of your instance, remember to properly configure your firewall settings.
Accessing your VM and Credentials
The web server can be found on the URL below.
http://your-server-ip e.g. http://1.2.3.4Unique access details for MariaDB and PHPMyAdmin will be generated on the first run and stored at
/opt/lamp/generated-credentials.txtEnjoy the Power of LAMP.
Do you still need help?
Look, our Tech Support Staff live and breathe Cloud Engineering. Let them handle the details, so you can focus on the big picture.
Contact Support