
This guide shows How To Setup Jenkins on Azure: A Step-By-Step Guide.
Overview
What is Jenkins? Jenkins is a versatile open-source application used in software development projects, DevOps and Infrastructure Teams to build, test, and deploy software and applications on private and public clouds.
Jenkins can automate the build and deployment process of any programming language and platform, including Golang, Ruby, Shell scripts, Python, .Net, Java, C#, Testing frameworks, Infrastructure as Code, Docker, Kubernetes, Linux, Windows and Cloud providers.
This guide will show you how to set up Jenkins on Azure using our customised battle-tested Azure image. It takes only 5 minutes, and you can easily start building and deploying your next project with Jenkins. Jenkins is an open-source application that makes managing and deploying software easy. It can be used to build, test and deploy. Launch your Jenkins server today.
What are the benefits of Jenkins?
Jenkins is a powerful open-source continuous integration and delivery platform with many benefits for businesses. It’s a great choice for companies of all sizes, as it can easily scale up to accommodate increasing demand. Additionally, when deployed correctly, Jenkins helps reduce the time it takes to get new features into production. This is essential to ensure your software is constantly up-to-date and compliant with changing regulations. Other benefits of using Jenkins include the following:
- #1 CI/CD platform with great community support.
- Very easy-to-use Web UI with point-and-click administration.
- Easily configurable to build and deploy multiple programming languages.
- It integrates easily with Github, Gitlab, and other SCM tools.
- It can be used to quickly detect errors in code, allowing developers a proactive opportunity to fix bugs.
- Rich Plugin ecosystem allows users to extend the power of CI/CD automation.
Step-by-step launch on Azure MarketPlace
On the product page , click on the “Get It Now” button. A pop-up window will appear, asking you to confirm your selection. Click “Continue” to proceed.
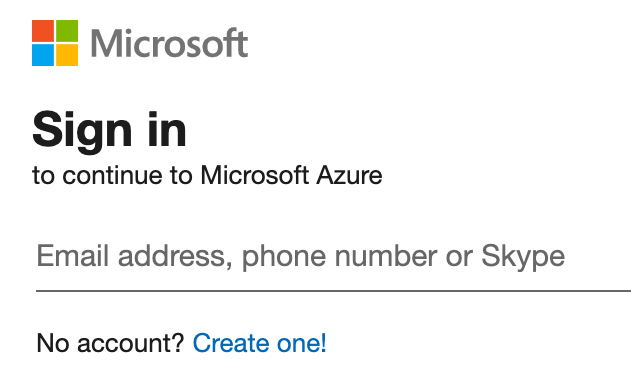
2. Open Azure Portal: You’ll be redirected to the Azure Portal (https://portal.azure.com ). If you’re not logged in, you must sign in with your Azure account.
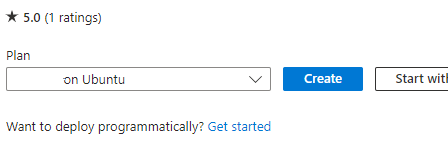
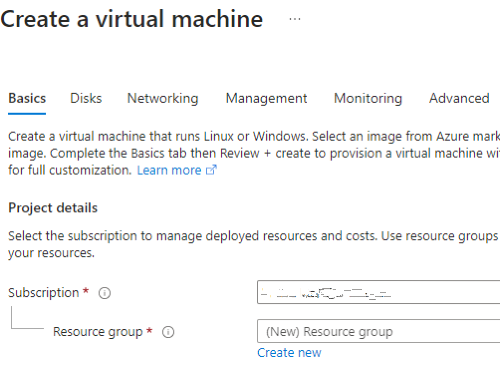
3. Create a Virtual Machine: You’ll see a page with the details of the image you selected. Click on the “Create” button to start creating your virtual machine.
4. Fill in the Virtual Machine Details: Fill in the necessary details, such as subscription, resource group, virtual machine name, region, availability options, and size.
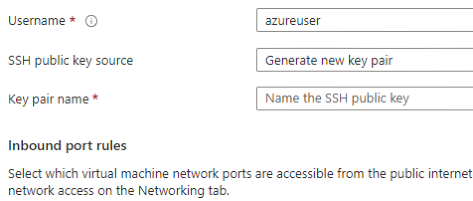
5. Authentication Type & Inbound Port Rules: Choose an authentication type (SSH public key or password) and set up the inbound port rules as needed.
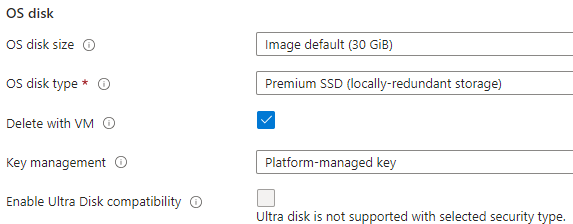
6. Disks, Networking, Management, Advanced, Tags: Choose the disk type, set up networking, enable management features, add extensions, and add tags as needed.
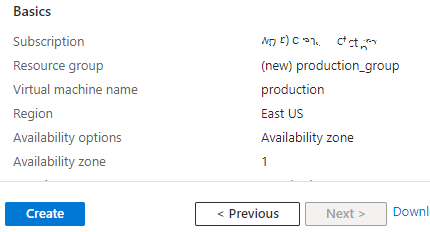
7. Review + Create: Review all your settings. If everything is OK, click on “Review + Create”, then “Create” to start the deployment process.
8. Check the Deployment: After clicking “Create”, you’ll be redirected to the deployment overview page. Wait for the deployment to finish.
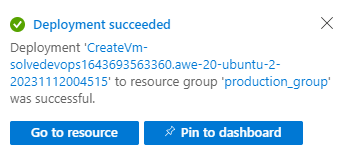
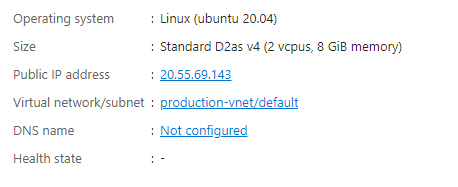
9. Go to the Virtual Machine Page: Once the deployment is complete, click “Go to resource” to manage your new VM. Note the IP address down, as this is what you will use to access and manage your instance.
Once your VM is launched, it will take about 5 minutes to bootstrap for the first time. When ready, you should be able to browse the Jenkins web-ui located at http://ip.address.of.instance:8080. For example, if your instance is on IP address 1.2.3.4, you should be able to access the web-ui by browsing to http://1.2.3.4:8080
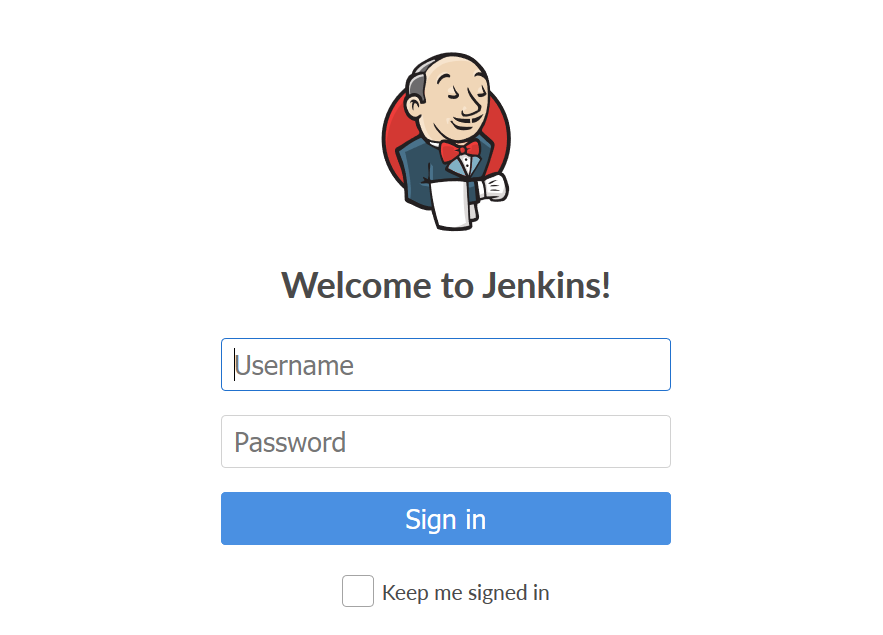
As per Jenkins’s official documentation, a unique password is generated for every installation and stored at this location
/var/lib/jenkins/secrets/initialAdminPassword
Access the Jenkins server over ssh to access this password. The details to log in to your VM instance will be the ones you set up during installation.
username: azureuser
ssh-key: As per setup instructions
Conclusion
Jenkins is a powerful tool for developing, testing, and deploying applications. In this guide, we showed you how to set up Jenkins on Azure using our custom-baked image in the Azure MarketPlace and explained the benefits of using Jenkins and its features. We hope you are excited to use Jenkins in your projects.
Disclaimer:
All product and company names are trademarks™ or registered® trademarks of their respective holders. Use of them does not imply any affiliation with or endorsement by them.
Do you still need help?
Look, our Tech Support Staff live and breathe Cloud Engineering. Let them handle the details, so you can focus on the big picture.
Contact Support