
Quay is a powerful and secure container registry solution developed by Red Hat. It allows you to store, manage, and distribute container images efficiently, making it an essential tool for modern DevOps workflows. In this guide, we’ll walk you through the process of getting started with Quay, from accessing the UI portal to pushing your first container image using the Docker CLI. This guide will also focus on cloud-hosted Quay instances, although the experiences can be replicated for on-prem instances as well.
Getting Started with Cloud Images
For a hassle-free setup, we offer pre-configured AWS and Azure cloud images for Quay. These images are designed to help you quickly launch a fully operational instance of Quay.
Choose the image that best fits your environment, and follow the respective deployment instructions on the marketplace page.
| Quay Image |  |  |
1. Accessing UI Portal
Once your Quay instance is up and running:
- Open your web browser.
- Navigate to the IP address of your Quay instance (e.g.,
http://your-quay-ip). - You should see the Quay landing page with options to log in (public signup is disabled; however, if your organisation requires this, you can enable this in the Quay settings file).
This portal is your gateway to managing repositories, users, and settings.
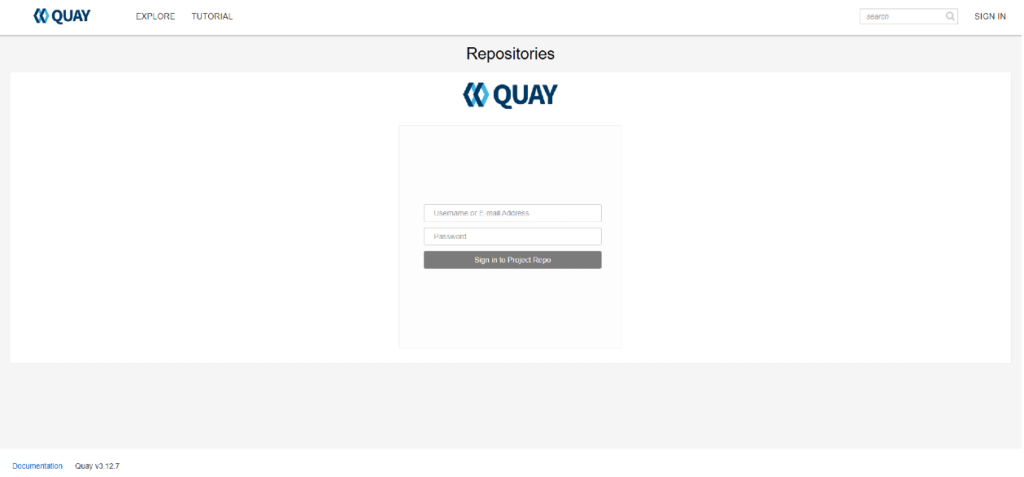
2. Administrator login
To perform administrative tasks:
- On the login page, enter the username:
quayadmin. - The default password can be accessed once you log in (via SSH) to the instance at this location “/opt/default-quay-login.txt”.
- Using the password obtained above, you can now login to the UI portal and have access to administrative settings to configure users and repositories.

3. Adding a New User
To add additional users to your Quay instance:
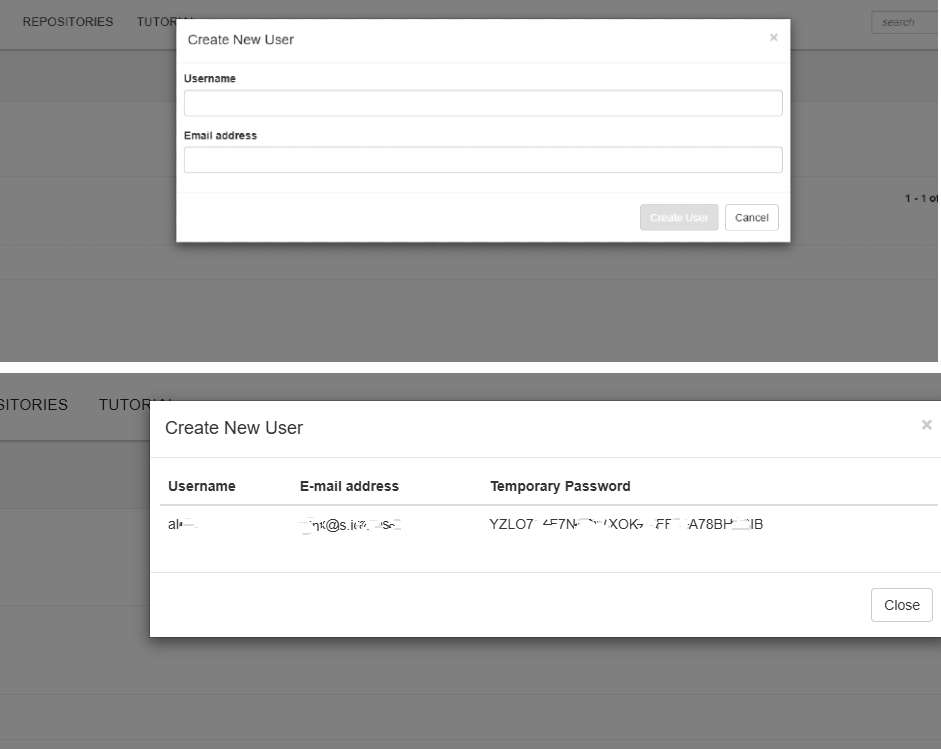
- Navigate to the Administration section in the portal (Click admin username on right-hand top corner, and select “Super User Admin Panel“.
- Click on “Create User“.
- Filling the New User form and Click Create User.
- The new user’s randomly generated password will be displayed, copy and securely send to the user.
- The new user should now have access to the UI at this point.
You can perform advanced user management like adding the new user to organisations etc.
4. Creating a Repository
After setting up users, you can create repositories to store your container images:
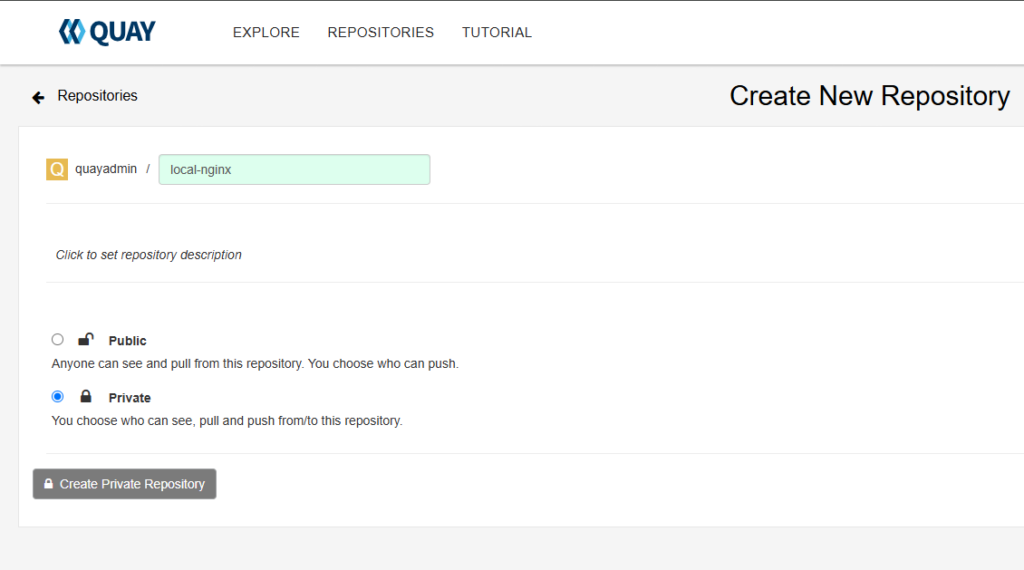
- From the main dashboard, click on Create New Repository.
- Provide a repository name and description, and select the appropriate visibility (public or private).
- Click Create to finalize the repository setup.
Repositories are the logical grouping for your container images and can be managed independently.
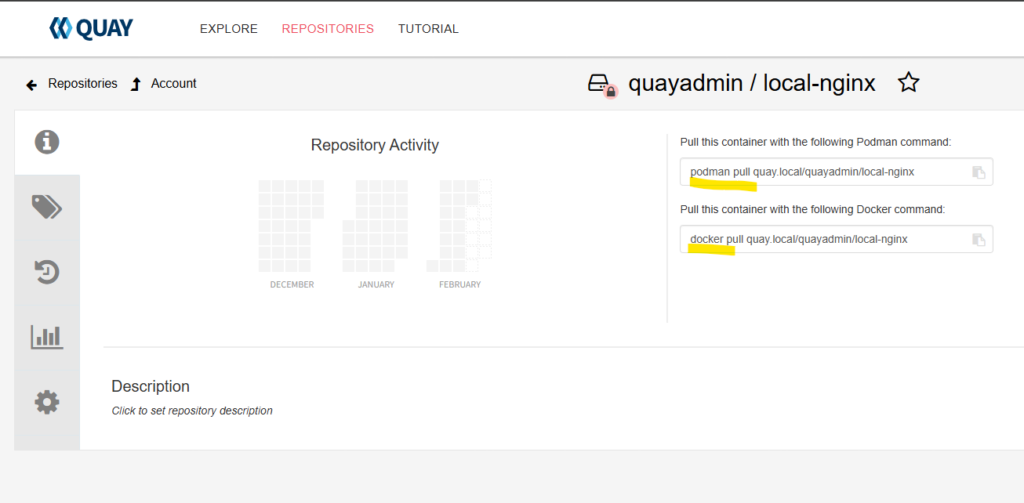
You can now access the repository and start pushing and pulling images out of it. On the Quay UI you can also get sample podman and docker commands to use while accessing the new repository using cli tools.
In this guide, we focus on users and private repositories. If you are setting up Quay for large teams, consider using Organisations so that repositories created do not belong to a single user. This will make managing team repos much easier.
5. Pushing Containers to the New Repo (Using Docker CLI)
To push your container images:
Tag your image:
Open your terminal and tag your local Docker image. In this example, I am using the standard nginx:latest image from Docker Hub. After pulling it from Docker Hub, I will tag it using our local quay repository(the one we created above). This workflow helps ensure your images are correctly versioned and stored in your chosen repository.
docker tag nginx:latest quay.local/quayadmin/local-nginx:latestFor the following commands to work, you must ensure
– Your docker cli can resolve quay.local (you can use /etc/hosts to map quay.local to your registry IP address. On Windows, this file is located here – C:\Windows\System32\drivers\etc\hosts)
– Your docker cli can work with insecure registries (see more on this below)
Log In to Quay:
Authenticate using Docker CLI:
A simple docker cli command with the login key can be obtained from your Quay user account in settings. Copy and paste that into your cli where you have Docker installed.
docker login -u='quayadmin' -p='wMHIEx95BnFEg==' quay.localIf successful, you should see something similar to the following
ubuntu-quay]# docker login -u='quayadmin' -p='wMHIEx95BnFEg==' quay.local
Configure a credential helper to remove this warning. See
https://docs.docker.com/engine/reference/commandline/login/#credentials-store

Login Succeeded
Push Your Image:
Now, we can push our image
ubuntu-quay]# docker push quay.local/quayadmin/local-nginx:latest
The push refers to repository [quay.local/quayadmin/local-nginx]
1fb7f1e96249: Pushed
d6266720b0a6: Pushed
2ef6413cdcb5: Pushed
320c70dd6b6b: Pushed
17129ef2de1a: Pushed
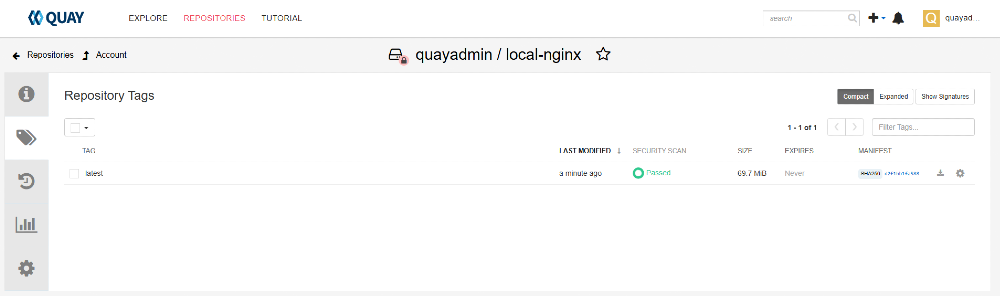
latest: digest: sha256:d2f1bb1fa588bd0e730b60fb182d194fe52f3264074bacb1d0c97037 size: 1778To verify that our image was pushed, we checked our project space on the UI. We should have seen the image available, with scan results as well.
6. Working with Docker Insecure Repositories
In some testing or development scenarios, you might work with insecure repositories. For example, if you have followed this guide and are using our image, you notice that the default domain configured for the repository is “quay.local” with a self-signed certificate. Docker will not push images to repos with self-signed repos as a security measure against MiTM attacks and DNS hijacking. However, if you are certain about the security of the repository, for example, in dev environments, you might want to allow docker to work with your repo. In this case we configure docker to work with insecure quay.local repository.
Configure Docker:
Edit the Docker daemon configuration (usually in /etc/docker/daemon.json) to include your insecure registry:
{
  "insecure-registries" : ["quay.local"]
}
Restart Docker:
After saving the configuration, restart Docker to apply the changes:
sudo systemctl restart dockerNote: Using insecure repositories is not recommended for production environments due to the lack of verifiable encryption.
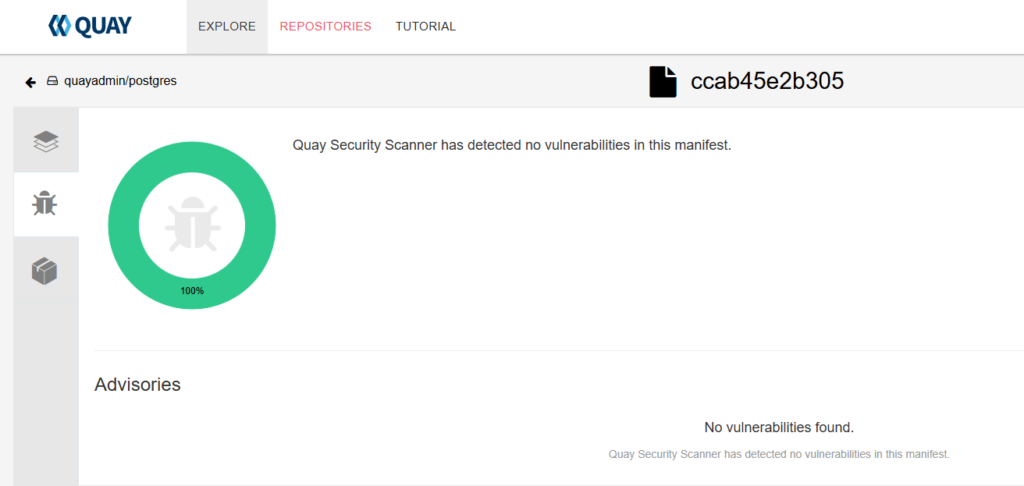
7. Security Scanning with Clair Container Security
Quay integrates with Clair, an open-source project for static analysis of vulnerabilities in application containers:
The integration has already been done for our cloud images; you only have to push your images and monitor them for vulnerabilities. Clair also provides;
- Automated Scans:
Once an image is pushed, Clair automatically scans it for known vulnerabilities. - Review Reports:
Access the security reports via the Quay interface to view detected issues and recommended fixes. - Take Action:
Use the insights from Clair to update or patch your images, ensuring your containers remain secure.
This proactive security measure helps you maintain high container image integrity and safety standards.
8. Changing the Quay server Hostname
Thus far, we’ve been operating with Quay’s default setup, which uses the out-of-the-box domain of quay.local. This configuration is perfect for getting started, testing the system, or running a proof-of-concept. However, for a production deployment, updating the hostname to reflect your organization’s identity is essential. Once the hostname is changed, we’ll also discuss how to update the SSL settings.
Hostname Change:
Before we get started, you’ll need to access your site’s nameserver and create a DNS entry for the Quay server. Next, open the file located at /opt/quay-install/quay/config.yaml and update it with your new hostname.
...
SERVER_HOSTNAME: quay.myorg.com
...
SSL change:
Obtain your SSL certificate from your provider, and once complete, place the ssl.cert and ssl.key files in the following locations (filename and case sensitive):
/opt/quay-install/quay/ssl.cert/opt/quay-install/quay/ssl.key/opt/quay-install/quay/extra_ca_certs/ssl.cert/opt/quay-install/quay/extra_ca_certs/ssl.key
Restart your services (has to be done inside /opt/quay-install/ folder):
:/opt/quay-install# docker-compose stop
:/opt/quay-install# docker-compose up -d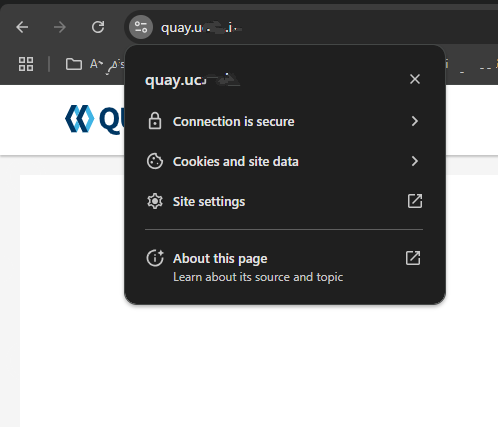
Thats it.
Conclusion
In this guide, we’ve taken you through the essential steps to get started with Quay Container Repository:
- Understanding Quay’s capabilities
- Deploying a ready-to-use cloud image
- Accessing the portal and managing admin tasks
- Creating repositories and pushing container images
- Working with insecure setups for testing
- Leveraging Clair for security scanning
With this comprehensive guide, you are now equipped to effectively set up and manage your own Quay instance. Happy containerizing!