Modern applications running on Kubernetes need reliable, scalable, and persistent storage. Containers may be ephemeral, but application data is not. This is where OpenShift Data Foundation (ODF) comes in.
ODF is Red Hat’s integrated storage solution for Red Hat OpenShift, providing persistent, software-defined storage that is tightly integrated with the OpenShift platform. Built on proven open-source technologies such as Ceph, ODF delivers block, file, and object storage that can scale with your cluster while remaining resilient to node or disk failures.
In this guide, you’ll learn how to install OpenShift Data Foundation on an OpenShift cluster using the Web UI, verify that it is running correctly, and understand the prerequisites required for a successful deployment.
Prerequisites
Before installing ODF, ensure the following requirements are met:
- OpenShift 4.10 or later
- Cluster administrator access
- At least three worker nodes
- Each worker node has:
- Dedicated raw disks (unformatted, unused)
- Sufficient CPU and memory
- No workloads using the disks intended for ODF
Note: On my lab infrastructure, since I was using Proxmox, I added a second disk to the worker nodes and enabled SSD emulation as well. This is important as ODF requires fast devices and will fail installation if it detects HDD drives.
Step 1: Verify Available Disks on Worker Nodes
Check which disks are available on your worker nodes:
$ oc debug node/worker0
chroot /host
lsblk
exit
Repeat this for each worker node and identify disks that are:
- Not mounted
- Not formatted
- Not used by the OS
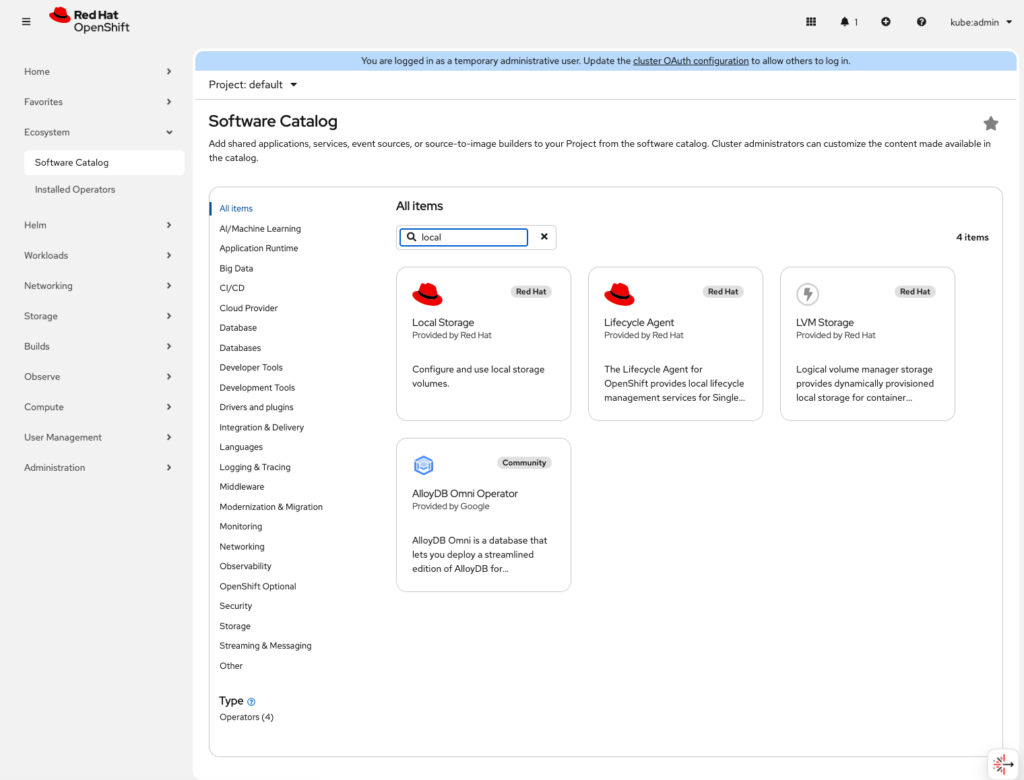
Step 2: Install the local storage operator
Before we install ODF operator, we need to install the “local storage” operator which we use to detect and configure our Persistent Volumes “PV”
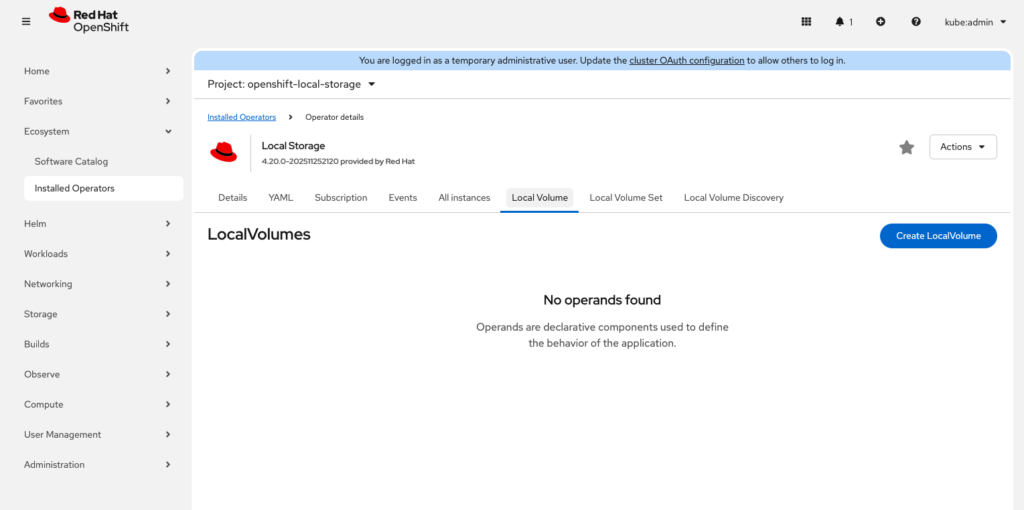
Once the local storage operator is installed, browse to “Local Volume” and click “Create LocalVolume”
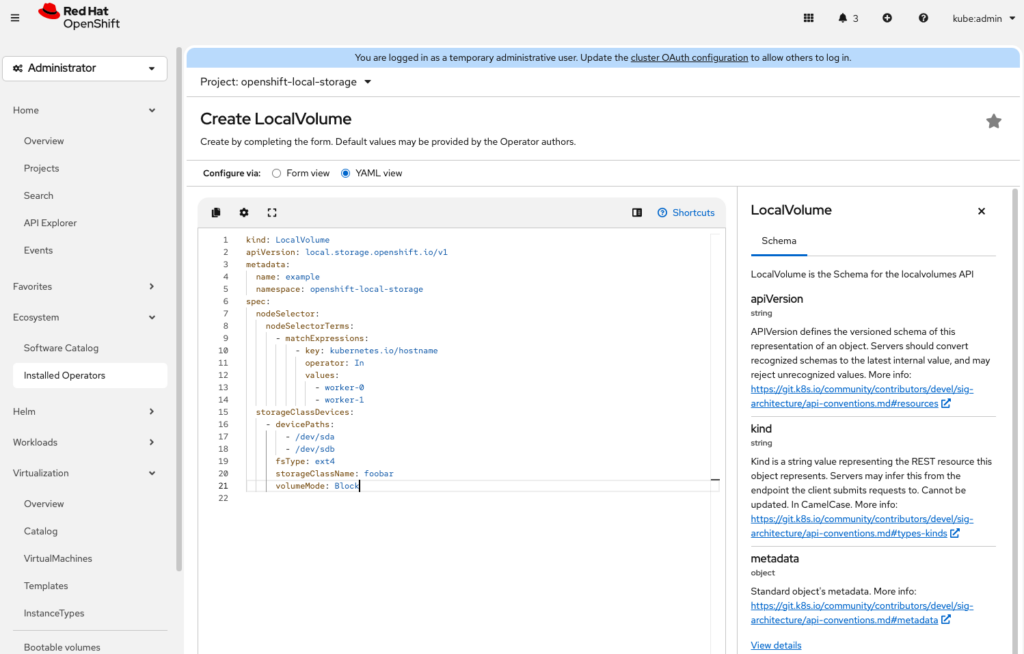
If you choose the yaml view to configure your local volumes look out for
nodeSelector: should match your node hostnames
devicePaths: should match your devices on your hosts
volumeMode: Block
Once you click “create”, the PV’s on your worker nodes will be detected and displayed in Storage > PersistentVolumes. Now we are ready to install ODF
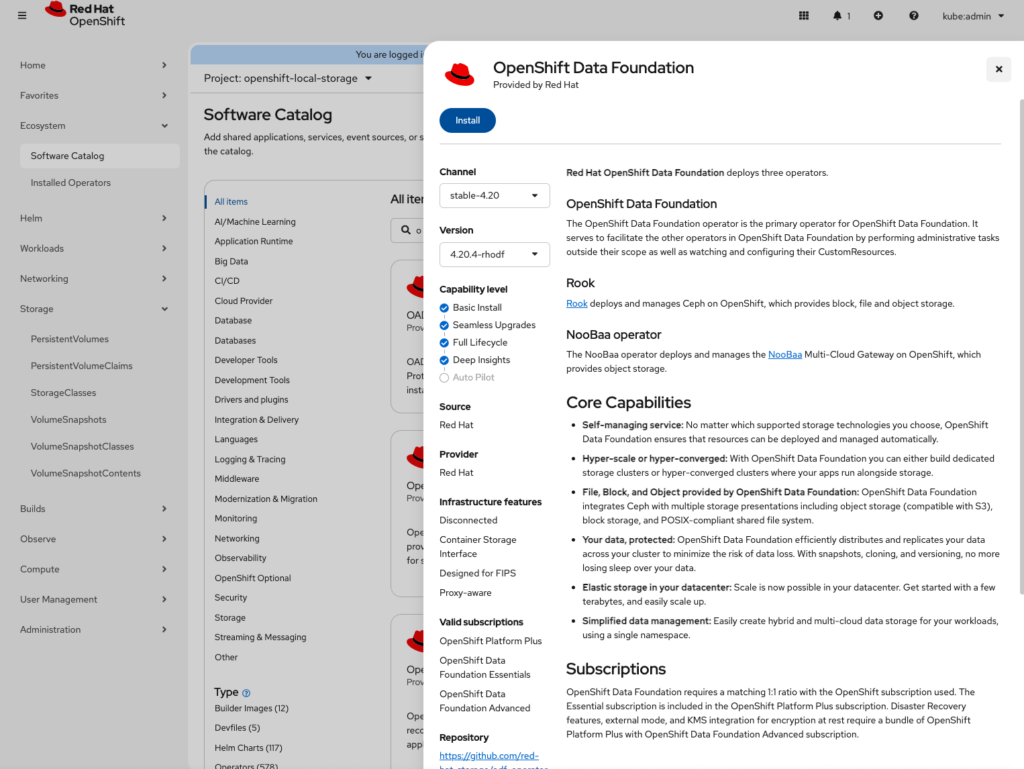
Step 3: Install the OpenShift Data Foundation Operator
Browse to operator installation and search of “OpenShift Data Foundation”
Once installation is done, we move to installation of a StorageCluster

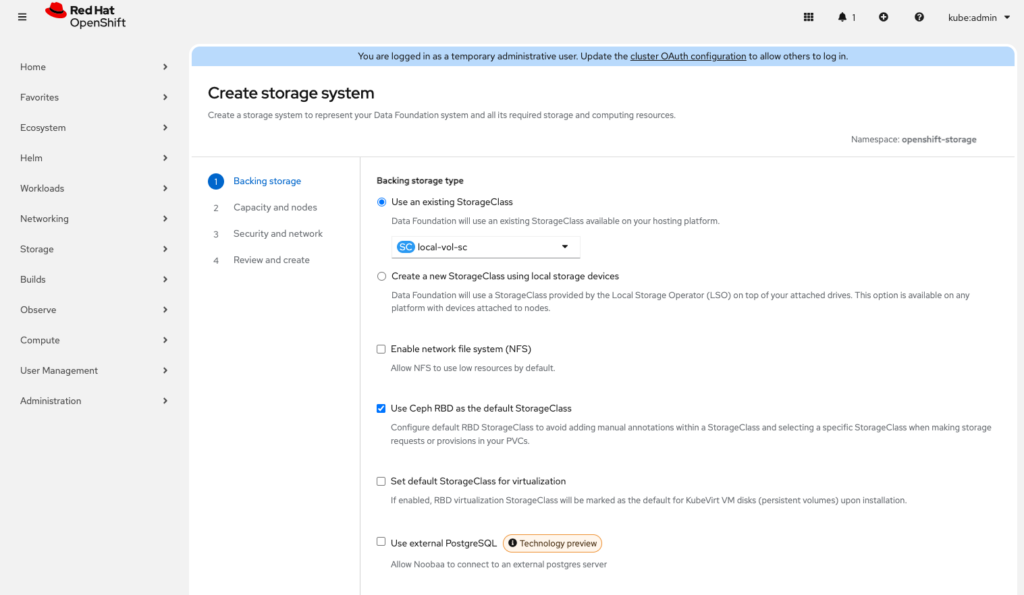
We can now install our Storage Cluster

Be sure to select “Use and existing StorageClass” The one we created with our local storage
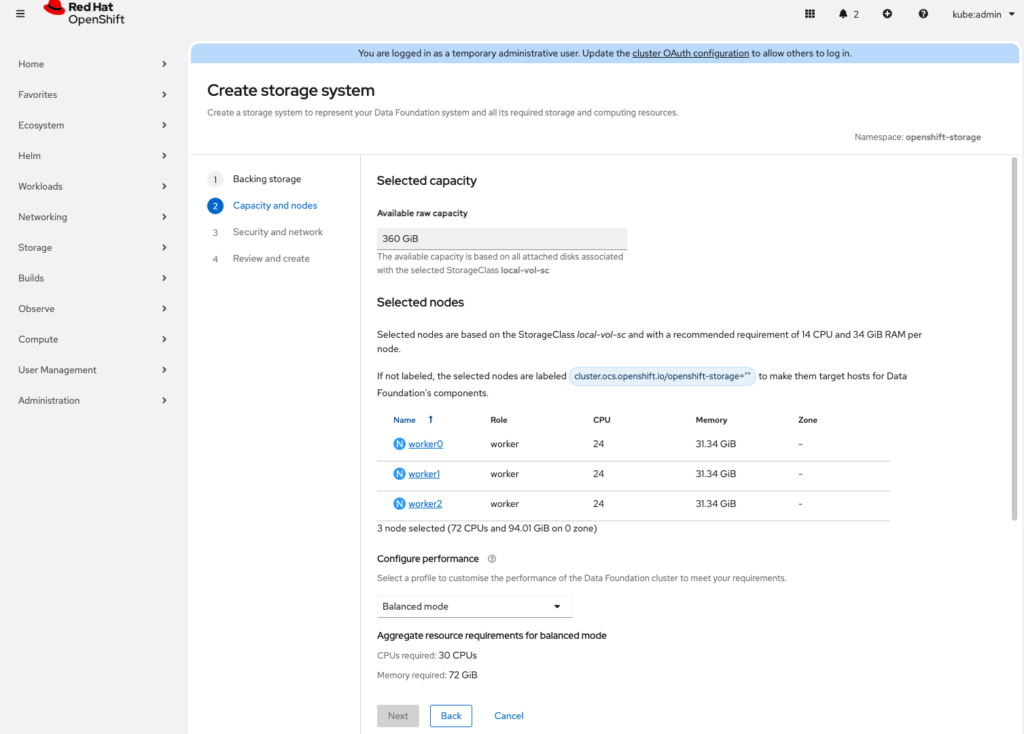
Select the nodes to participate in the storage cluster
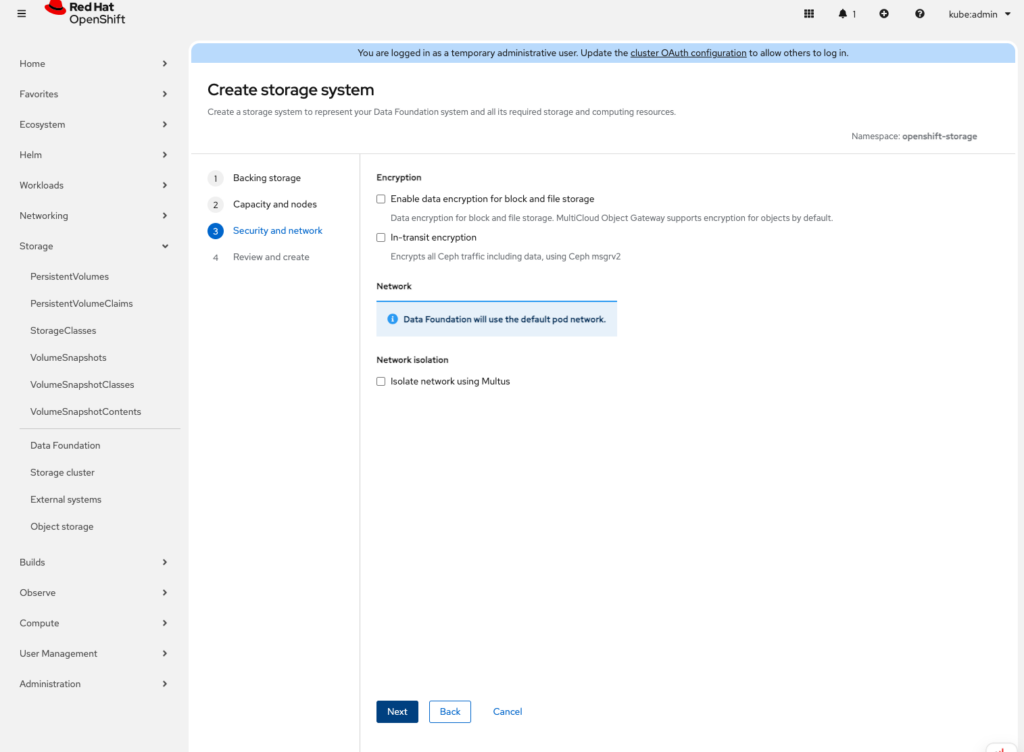
Security
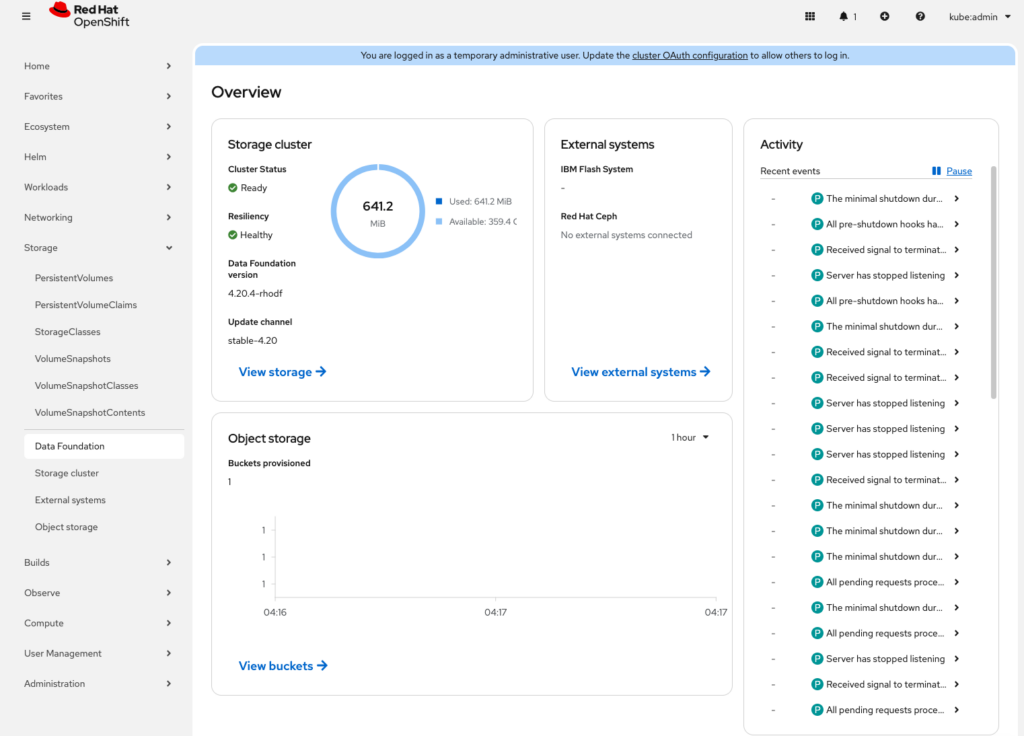
Confirm and the cluster will start installation. Depending on how fast your internet connection is, this process will take a while to complete. Coffee time!!
Conclusion
OpenShift Data Foundation provides a robust, production-ready storage layer that integrates seamlessly with OpenShift. By installing ODF, you enable your cluster to support stateful workloads with high availability, data resilience, and multiple storage access modes all managed directly through Kubernetes.
With ODF in place, your OpenShift cluster is no longer limited to stateless applications. You can confidently run databases, message queues, virtual machines, and other data-intensive workloads, knowing that your storage is scalable, self-healing, and built for enterprise use.
From here, you can begin optimising storage performance, setting default storage classes, or integrating ODF with OpenShift Virtualization and advanced workloads.